

This updated (20-05-2021) blog will show you how you could automate your whole Win32 app deployment to Intune with the use of PowerShell. In my last blog, I expressed my opinion about how important it is to use the Company Portal App to distribute apps.
So please, make sure you deploy the Company Portal to your devices. If you are curious about how to do this, please read my blog. It contains all the information you need and all the answers to your questions about the Company Portal itself.
Like I was mentioning in the Company Portal App Unchained blog, it can be a lot of work when you need to create all these apps manually each time a customer asks for them. Of course, you can create one Chocolatey app which simply installs every app. But I prefer to give the user a nice dashboard with all the possible apps he or she can install themselves.

You will need to start automating this process, otherwise, it can take a lot of your time.
There are some steps you need to take to automate it:
- Create the Win32App itself.
- Upload the apps to Intune.
- Configure the assignments.
- Create the logo
- Uploading the logo
Before we can begin, there are some prerequisites that are needed
4: Download Fiddler Web Debugging Tool for Free by Telerik (optional)
Step 1: Creating the Win32App
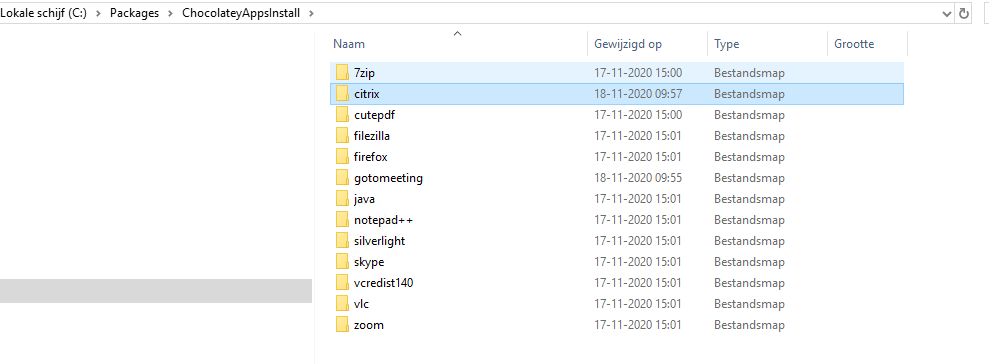
The first thing you will need to do is create a folder where you’re going to store the apps. In the example below I created multiple folders c:\packages\chocolateyappsinstall\*APPNAME*
Inside the folder, I created the install.ps1, uninstall.ps1 and the logo jpg file (you will need to do this one time to get some information about it).

Content install.ps1
if (!(Test-Path -Path "$env:ProgramData\Chocolatey")) {
  Invoke-Expression((New-Object System.Net.WebClient).DownloadString('https://chocolatey.org/install.ps1'))
}
$ChocoPackages = @("jre8")
$chocoinstall = Get-Command -Name 'choco' -ErrorAction SilentlyContinue -WarningAction SilentlyContinue | Select-Object -ExpandProperty Source
foreach($Package in $ChocoPackages) {
     try {
         Invoke-Expression “cmd.exe /c $ChocoInstall Install $Package -y” -ErrorAction Stop
     }
     catch {
         Throw “Failed to install $Package”
     }
}
Content uninstall.ps1
choco uninstall jre8 -y You can do this for every app. The only thing you will need to do is just change the choco package you need.
Now we just need to create the intunewinapp for each app. That’s step 1, so let’s create the app with the Microsoft Win32 Content Prep tool. You will need to define the folder and the setup file.

Step 2: Uploading the Win32App
When you have created the intunewin apps we can move to step 2: Pushing the apps to Intune. You will need the Win32_application_add.ps1 you downloaded earlier.
Add all apps to the script you created (please be aware of the detection rules, they are quite important!!). Also, please make sure the source file corresponds with the intunewinapp you have created. Here is an example for Go to Meeting
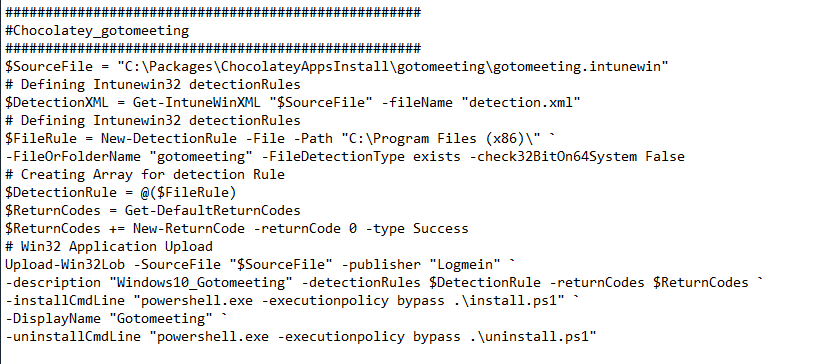
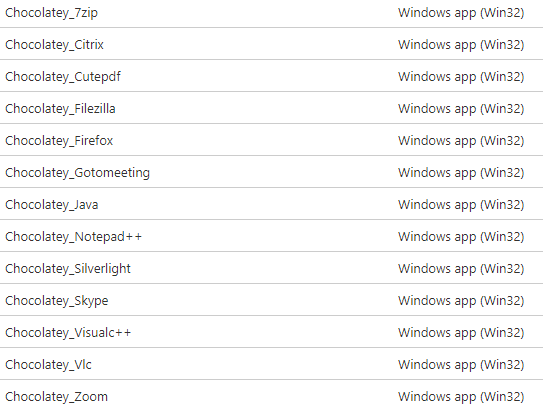
Looking at the above picture, you will have noticed it will perform the Upload of the Win32lob app to https://graph.microsoft.com/. After the upload is finished open the Intune portal and take a look at all the apps which were uploaded with the use of some PowerShell automation.
Step 3: Assigning the Win32 APP
You will notice the apps are not assigned (yet). So we need to set the assignment to all users and configure the app as available instead of required. You will need the Application_Get_Assign.ps1 script you downloaded at the beginning.

Step 4: Creating the LOGO
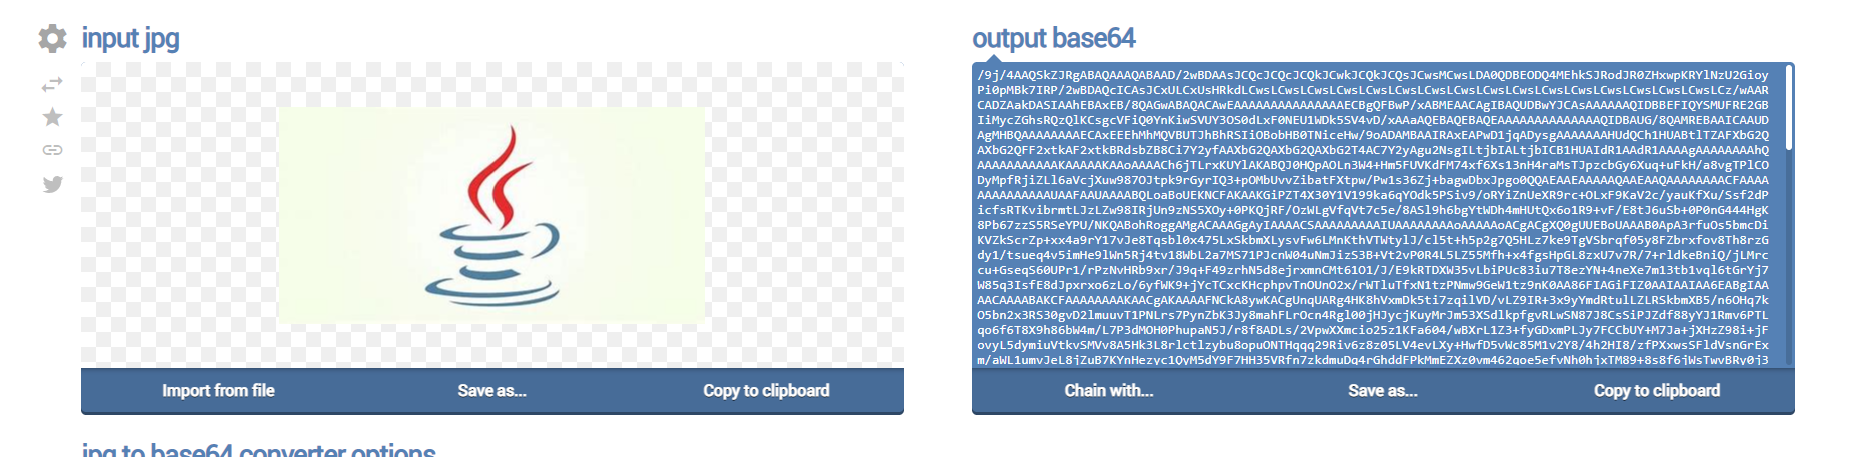
Okay? We have created the app, converted it to an intunewinapp, uploaded it, and assigned it. Now it’s time to create the logo. You have two options available;e, the easy way or the hard way out. Your jpg file has to be converted to base64 first before we can upload it.
1. The easy way
Open your Microsoft Edge browser and open this online converter:
Convert JPEG to Base64 – Online JPG Tools
Select the proper logo and convert it!
2. The hard way out
That’s a little bit harder than you might think. You will need Fiddler to fetch some information. Take a look at my blog to start with fiddler:
Close Encounters of Fiddler – Call4Cloud
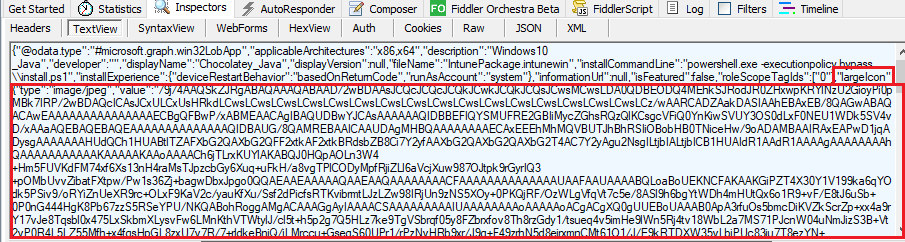
We need to have the plain text data we need for the “Largeicon” JSON part.
win32LobApp resource type – Microsoft Graph v1.0 | Microsoft Docs
The easiest way to get the information you need is manually uploading the logo you need and watching fiddler!

Step 5: Uploading the JPG/BASE64
Now that we have the information needed to create the logo we can begin to attach the logo to the app. You can use the same script to add the logo’s as you did to assign the apps. You only need to change the contentpart1.

Open your Intune portal and take a look at the logo:
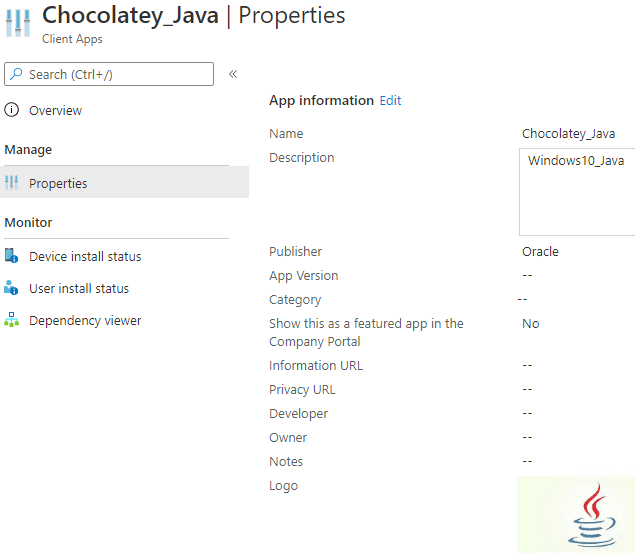
And you’re done!
Conclusion:
Imagine this scenario: you can automatically deploy all of your (win32/msi) apps to all of your tenants with just a push of a button. No more hard work to create all the apps manually. It will cost you some time to set up a baseline at first, but it’s wonderful it can all be done with PowerShell.

Please note: When deploying chocolatey third-party apps, make sure you keep them uptodate
##Create A scheduled task to Update all packages each day at 12:00
choco install choco-upgrade-all-at --params "'/DAILY:yes /TIME:12:00 /ABORTTIME:14:00'" -y
One thought on “The PowerShell Win32 App Express”