

This short blog will show you how you could start creating a new Win32 app and making it interactive with the user’s context by using the wonderful PowerShell App Deployment Toolkit (PSADT)
1. Introduction
When packaging apps, sometimes you don’t have the option to do a silent install; sometimes, you must decide to let end-users install them on their own. In one of my older blogs about the Company Portal, I showed you that when installing a Win32 app from the Company Portal app, the app will be installed in the System context.
Because the app will be installed in the System context, it won’t be easy to show those prompts in the user context. You could open the task manager and look at the Session-Id as a good example. As shown below, the Intune Management Extension is running in Session ID 0, and the normal user processes are running in Session Id 1

Luckily, using Serviceui.exe and PSADT (AKA: the PowerShell App Deployment Toolkit), you can bring the installation process from the System context (0) to Interactive mode.
But with great power comes great responsibility. Because everything is done in “System context“. So please, pretty please, be careful! I am explaining it in Part 2 of this blog.
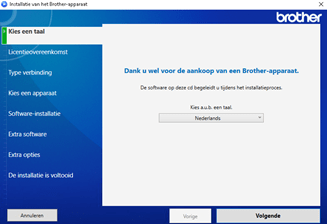
Using the PSADT in combination with Serviceui.exe is perfect for software that needs user interaction. For example, The Brother software deployrequires the user to connect the USB scanner…
Another good example would be if you must warn the end-user that he/she needs to close the App before the installation can continue.
2. Creating a PSADT package
In the introduction, I mentioned the Brother Scanner software as a good example of when you need to use PSADT. Let’s take a look at how you could do the same for other programs that can’t be installed silently:
- Downloading serviceui.exe (Microsoft deployment toolkit) and copying it to c:\packages\brother
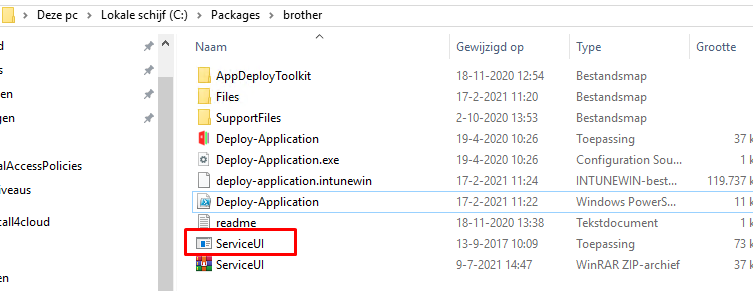
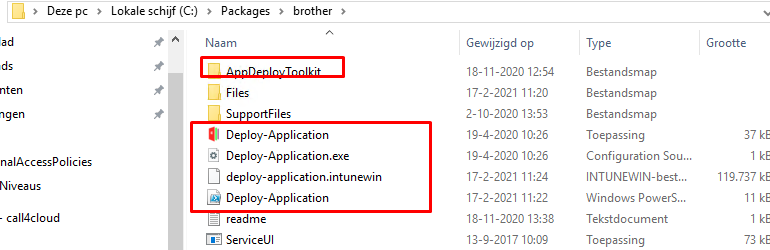
- Downloading the Powershell app Deployment Toolkit and unzip it to c:\packages\brother
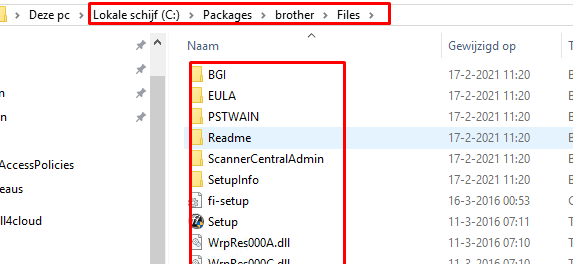
- Downloaded the Brother software and extract the files to c:\packages\brother\files
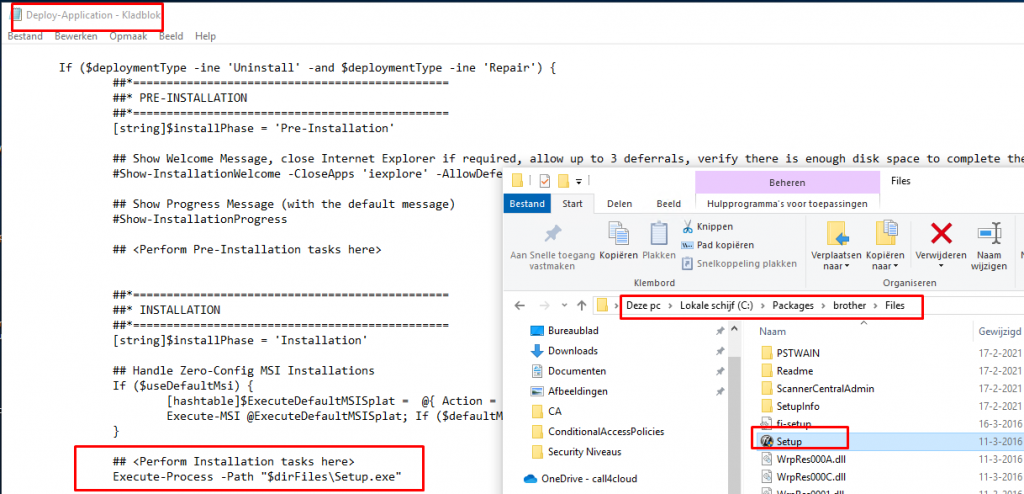
- You will need to change some settings in the deployment-application.ps1. As shown below, you will need to change the variables application and most important, you will need to change the installation task: Execute-Process -Path “$dirFiles\setup.exe”)
- Now we have everything we need we need to create a new Intunewin package. You can specify the install file/parameter: deploy-application.exe and folder: c:\packages\brother
- To start deploying the app, upload the Win32 app to Intune and specify this install command: .\ServiceUI.exe -Process:explorer.exe Deploy-Application.exe. With this installation parameter we are using(-Procss:explorer.exe) we are making sure we are going to determine if the process “explorer.exe” is running and by doing this we are making sure if there is a logged on user. If there is a user logged on (explorer.exe) ServiceUI.exe will launch Deploy-Application.exe to show the dialogs to the user,
Conclusion
Deploying Apps with the company portal is great, and with the use of PSADT, you could also bring a nice interactive prompt to the user context when there is no silent install option available! Now you have the power to do some amazing things!

What happens if there isn’t a user logged on. Will it wait until there is or would it install silent.
seems like the problem with this is or at least what I observed over Intune is that it will then not install until there actually is a user on because serviceui errors out.
Thats why we assign the app as available so the enduser could install it from thr cp
Great Job ! Thx
Working fine with “Start-Process”