This blog will show you an alternative method to download your Win32Apps sources from Intune WITHOUT having the Encryption key information. Besides this alternative method, I will also show you what the MDMDeviceCertificate has to do with Decryption.
1. Introduction
Some time ago Oliver created a fantastic tool to get back your Win32Apps from Intune.
How to decode Intune Win32 App Packages – Modern IT – Cloud – Workplace (oliverkieselbach.com)
Let me start with the flow behind the delivery of a Win32App to the client

But somehow something changed! In the past, it was possible to get those files back with the use of the EncryptionInfo from the Intune Management log files.
When you are packaging an App as an IntuneWinPackage, this required EncryptionInfo is stored in the metadata\Detection.xml

This EncryptionInfo contained the necessary EncryptionKey and InitializationVector. This information was needed to decode the BIN file but “luckily” something changed!

This sensitive information is/was removed from the IME log files these days. I got some mixed feelings about this, as it is quite annoying this information is removed but then again it shouldn’t be in there in the first place.
UPDATE 30-03-2022
Oliver found out what you could change to get it working again!
I guess I feel pretty stupid reading it, as I was trying to do exactly the same as Oliver :). I was messing arroung with Microsoft.Management.Services.IntuneWindowsAgent.exe.config on 24/03


but somehow I changed it to “Debug” ???

As Oliver points out in his fantastic part 2 of the blog, you need to change it to “Verbose”!!!!!

I guess, again RTFM

So please read Oliver his blog to get all the details and the updated script! A small summary
The Decryptinfo will be shown! and you can use Oliver his tool to decrypt it!

2. The MDM Certificate
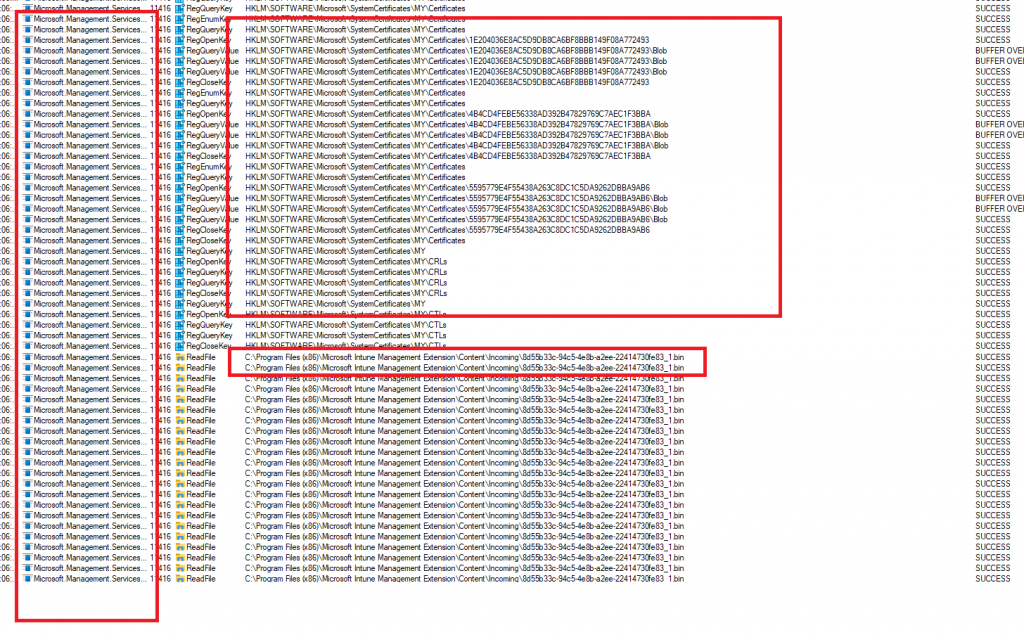
When taking a closer look at the Win32App Installation flow, it does look like this MDM Intune device Certificate will initialize the download process and the encrypted BIN file will be decrypted by the IME itself by using the detection.xml. As shown below Microsoft.Management.Services.IntuneWindowsAgent.exe is trying to read the MDM certificate when you are initializing the App download!

Of course, the use of the MDMDeviceCertificate will also be shown in the IME log after it finished downloading the app!

Mmm…I am wondering… because looking back at my Fiddler blog, I also used the public part of the MDM certificate in combination with Fiddler to decrypt the Intune/MDM HTTPS traffic
https://call4cloud.nl/2020/11/close-encounters-of-fiddler/#part3
So that got me curious… Just like with TPM operations, the EKPriv (Private part of the EkCert) is used for data decryption. Why shouldn’t the private part of the MDMDeviceCertificate couldn’t do the same?

So I decided to try something “stupid” to be sure if the MDMDeviceCertificate was somehow also involved in the decryption operation (besides the metadata.xml). In a normal situation, we have the private key that corresponds to this certificate


When looking for this private key, you will find the private part/key of this certificate in the c:\programdata\microsoft\crypto\RSA\MachineKeys folder.
You can find out yourself by running this PowerShell script to determine which file you need
$a = Get-ChildItem Cert:\LocalMachine\My\ | where{$_.issuer -like "*Microsoft Intune MDM Device*"}
$a = $a.thumbprint
$a = Get-Item Cert:\LocalMachine\My\$a
$a.PrivateKey.CspKeyContainerInfo.UniqueKeyContainerName

When you open it, you will know for sure, that this is the file we need! It is mentioning ConfigMgrEnrollment and some scrambled stuff together with the scrambled Private Key Properties.

I decided to take over the permissions of the system file and move it somewhere else… to the new folder. After moving the system file, the possibility to export the private key is gone!

But I am not done yet, because let’s fire up a Win32App installation from the company portal to check out what’s going to happen without the private key.
As shown below the file is successfully downloaded to the Incoming folder because the public part of the certificate still exists to communicate with Microsoft

After the BIN file is downloaded it will be unzipped/decrypted to the Staging folder. As shown below, the GUID folder is created but this time without content!

As expected, the app failed to install! Let’s open the IME log, shall we?

As shown above, after downloading the App, it will search for the MDM certificate and will try to decrypt the BIN file with the Private key. You could guess what happens when that private key is gone: Decryption Failed.
Somehow that Microsoft.Management.Clients.IntuneManagementExtension.Win32AppPlugIn sounds familiar? As shown below… I guess it does.

As shown above, that DLL file does exist in the Microsoft Intune Management Extension folder. Let’s open that DLL file in dotPeek

When we have opened that file, we will notice the same compiled elements as we noticed earlier in the IME log
- MessageEncryptionHelper
- MessageEncryptionHelperWrapper
- ContentDownloaderDecryptor
3. Plan B
So for now, I archived my first idea and proceeded to my next idea by abusing the IMECache folder.
When starting the Win32App installation from the Company Portal app, the encrypted bin file would be downloaded in the “C:\Program Files (x86)\Microsoft Intune Management Extension\Content\incoming” folder and decrypted to the “C:\Program Files (x86)\Microsoft Intune Management Extension\Content\staging” folder.
After the decryption phase, this zip file would be unzipped to the c:\Windows\IMECache. When you want to know more about this whole flow, please read my blog below. In this blog, I am explaining the whole IME flow.
https://call4cloud.nl/2021/05/imecache-attack-of-the-cleaner/#part1
When unzipping the file from the staging folder to the IMECache the “System” account needs to have permissions on that “IMECache” folder. Guess what, what will happen when the system account has been denied full access / write permissions in that folder?

Exactly!

The zip file could not be unzipped successfully to the IMECache folder and would stay stuck in de staging folder because access was denied!

At this point, I guess we could just fetch this zip file from this folder?
4. The PowerShell Script
Let’s take a look at the PowerShell script itself. Please note: This tool is still version 1, so it still needs more work! If you are interested, please download the PowerShell script here:
https://call4cloud.nl/wp-content/uploads/2022/05/backupwin32apps.zip
Please Note: I am still working on it… so please don’t shout to me if something didn’t go as planned 🙂
5. The App
Go download the EXE version of this tool below!
https://call4cloud.nl/wp-content/uploads/2022/05/BackupWin32AppsEXE.zip
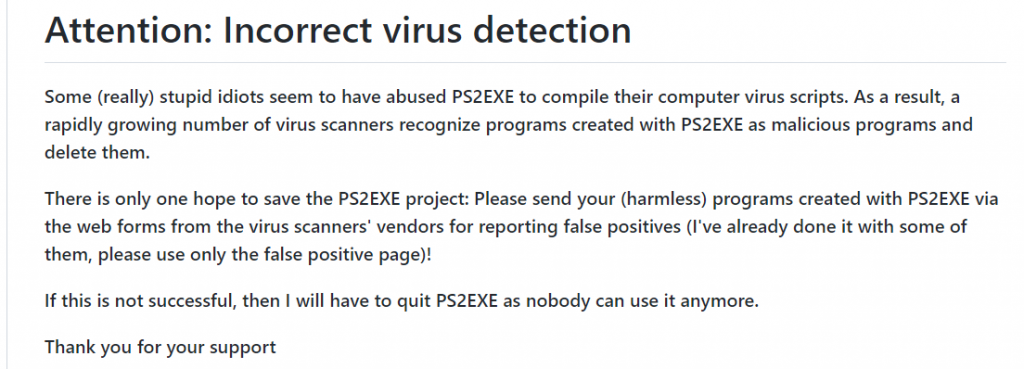
Please Note: I did my best to don’t get it blocked by your Antivirus because when using the PS2EXE tool those converted PowerShell scripts will be detected as a virus

So I chose the IEXPRESS built-in Windows tool. I will show you how I used that tool in part 6 of this blog
Let’s take a look at how it looks when using the tool. Of course, you will need to run the tool as an Administrator

It will first prompt you with the message: the permissions for the SYSTEM account will be configured to deny

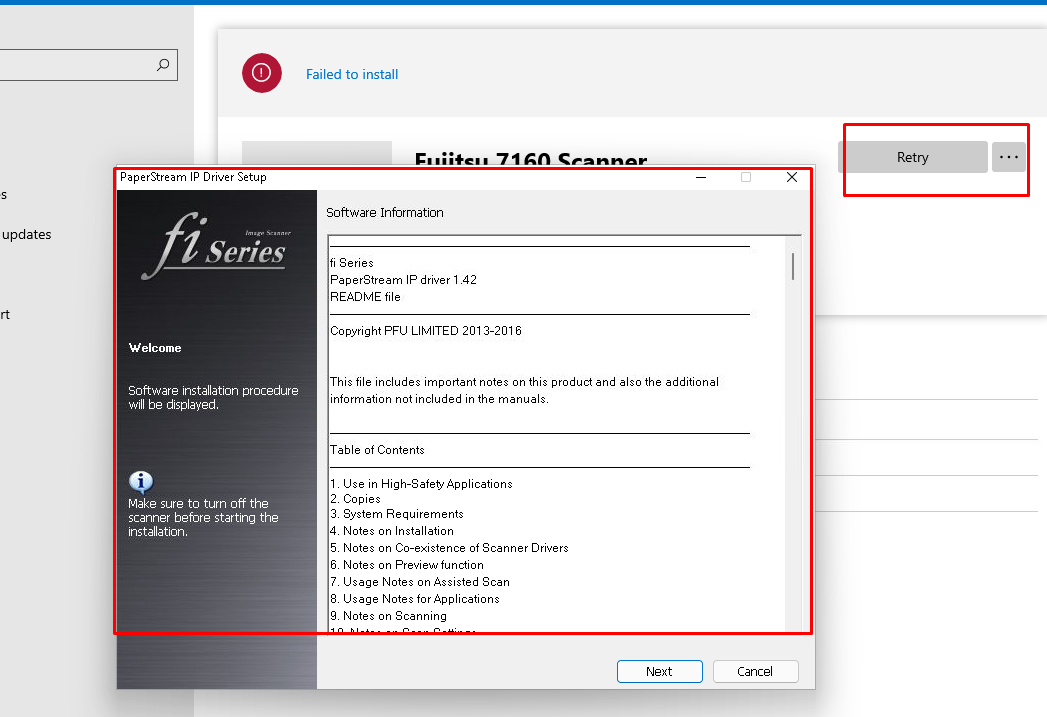
After pressing OK, you will again be prompted, telling you, you will need to click on install in the Company Portal app before pressing OK!!!!! It also tells us we need to wait until the app installation shows: Failed to Install

Please note: When Pressing “Cancel” the system permissions will be restored! After making sure we clicked on “install” app from the company portal we will notice the folder in the staging folder is created and it will remain put!

After a second or 2, we will be prompted will restore the permissions

After pressing OK, the staging folder will be cleaned and the permissions on the IMECache folder are also restored

When the folder is cleaned up, the folder with the zip file will be shown. This zip file contains all the data of your Win32App

Of course, when not using the TOOL, we could still retry the installation itself, and installing the app will run successfully! So don’t worry about me breaking your IMECache Permissions!

6. IEXPRESS
After trying to obfuscate, converting the Script to Base64, and using a BAT file to launch the PowerShell script I stumbled upon this wonderful Windows Build in Tool: IEXPRESS.EXE

This superb tool is normally on my Applocker LOLBIN list but it can also be used for distributing self-contained installation packages and converting them to a nice Executable! Let me explain how
At the first Window, you will need to choose: Extract files and run an installation command

After giving your project a nice title, make sure you select: No Prompt and Don’t display a license

Now it’s time to add the PowerShell script to the wizard. As shown below I just selected the normal PowerShell script I showed you earlier!

After we selected the PowerShell itself, we also need to configure the install program to launch. Please make sure you configure the -file name to match the file you selected in the previous step
PowerShell.exe -noprofile -Sta -executionpolicy bypass -File backupwin32apps.ps1

I guess we also want our stuff the be hidden, so please select the most obvious option!

After pressing, next a couple of times, please make sure you configure the output file and select both the options

Almost forgot but please make sure the device doesn’t reboot after the installation of the program by selecting the “No restart” option.

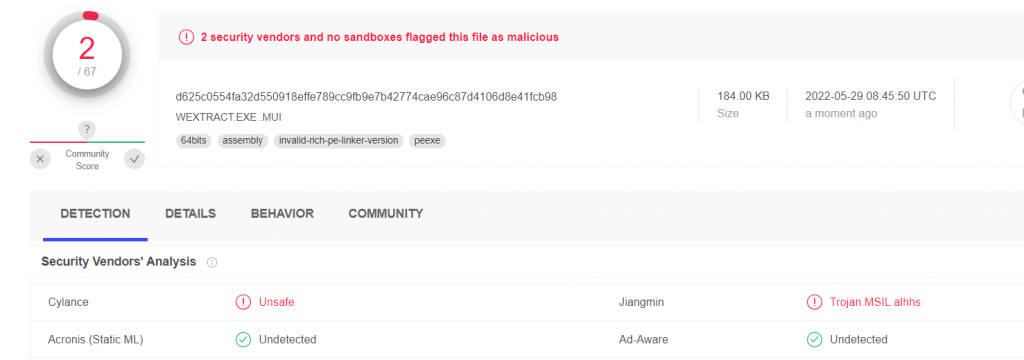
To be sure this nice new EXE file isn’t going to be detected by most of the Antivirus systems I uploaded it to virustotal. As shown below, this EXE file looks way better than the EXE file I got from the ps2exe tool I used before!

Conclusion
I really love the tool Oliver created! Sometimes when you don’t longer have access to the Installation files, you could use this Script/Idea. Of course, I know messing with System permissions on some folders is not recommended but I guess it gets the job done?

Please Note: Don’t try it out on your production devices! Just enroll a test device to test it on!


Thanks, Rudy! This really saved me from a giant headache, and from days of work to recover from an undocumented implementation. Works like a charm!
Thank you mate, this is the ONLY working method right now, as I see the IntuneManagementExtension logs even if set to Verbose, no longer contain the decryption information. Your solution saved our day(s)!!
Rudy, this just saved me HOURS of work. I cannot thank you and Oliver enough for your work. The instructions are crystal clear and easy to follow. Lifesaver!!!