

This blog is the first part of the Endpoint Security Series. In this blog, I will show you, how to start deploying Microsoft Defender Application Guard for Office apps. Also, known as Windows Defender Application Guard (WDAG)
I will divide this blog into 5 parts.
- Information
- Deploy it with Intune Endpoint Security
- Deploy it with PowerShell
- Results
- Troubleshooting
- Conclusion
1. Background Information
To make sure Malware can’t get its foot in the door, you have to protect your endpoint. Hardening your Office apps is the first step. Some time ago Microsoft created the possibility to isolate your Office app documents you open from an untrusted location…
First, you have to meet the minimum software and license requirements
- Windows 10 Enterprise edition (NOT PRO), Minimum Client Build version 2004 (20H1) build 19041
- Please make sure your device has more than 8 GB ram installed!
- When using Hyper-V, enable nested virtualization first!
- The user signed into Office is licensed for Microsoft Defender Application Guard. License required: Microsoft 365 E5 or Microsoft 365 E5 Security!!
- Don’t forget to turn on Safe documents for office clients!!
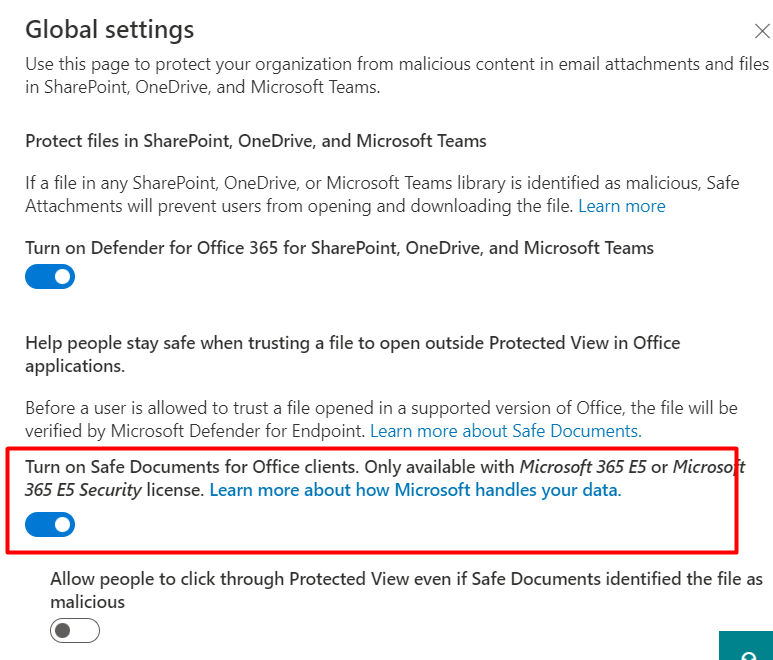
Safe attachments – Microsoft 365 security
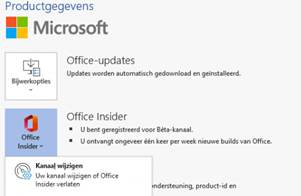
So you need to make sure your Windows and Office 365 apps are up to date! In the past, you need to have Office enrolled in the Insider Build, otherwise, MDAG didn’t work. You could do so by deploying this Device configuration Policy
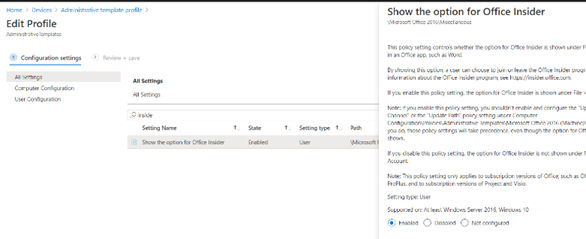
Configure the Update channel, to make sure you can update your office apps to the latest build.
2. Deploy it with Intune Endpoint Security
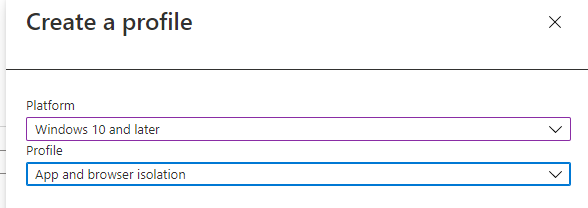
Let’s take a look at the first option we have when we want to deploy WDAG to our devices. Let’s open Intune and create a new Endpoint Security Attack Surface Reduction Profile.
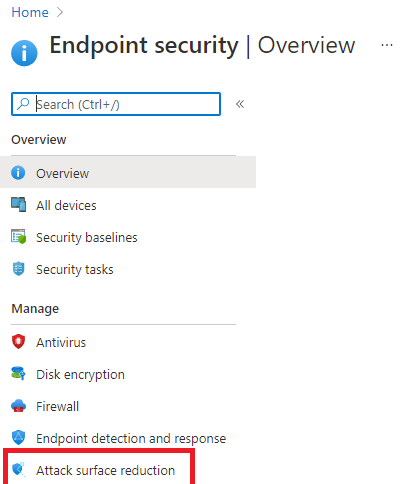
On the next screen, we need to select “App and Browser isolation”
You can choose which functions, Application Guard needs to be enabled on. There are 3 options to choose from:
“Enable for Edge” –> To make sure unapproved websites are opened in a Hyper-v virtualized browsing container
“Enable for isolated Windows environment” –> To make sure Application guard is enabled for applications like Excel, and Word. It will make sure the documents are opened inside a Hyper-V Container
“Enable for Edge AND isolated Windows environment” –> When you need to make sure App Guard is enabled for Edge and Applications (Office)
For this blog, I will choose: Enabled for isolated Windows Environments because the blog is about WDAG and the Office apps!
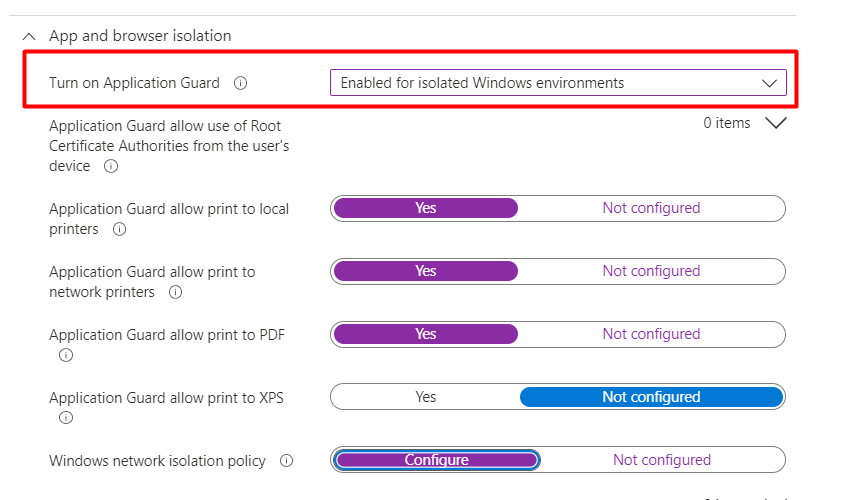
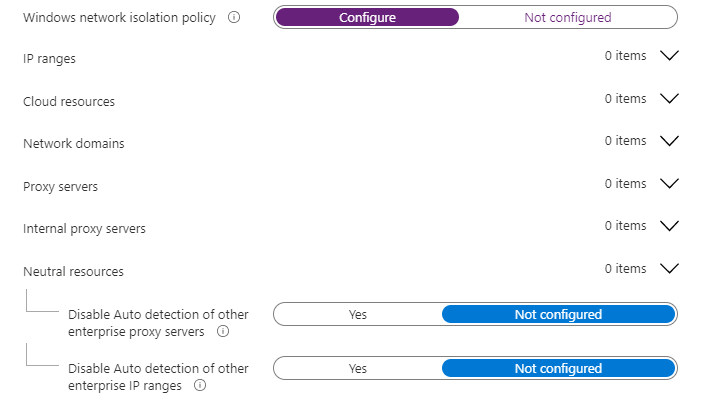
After you have made your choice if you want to enable it on Apps, Edge, or both we need to take a look at the “Windows network isolation policy”. You will need to define what networks your data is being accessed in
The next question is
These settings, help you define and manage your organization’s network boundaries. You will need to configure these settings to control which locations are blocked and which locations are considered trusted
Application Guard uses this information to automatically transfer any requests to access the non-corporate resources into the Application Guard container
So let’s take a look at the additional resource settings I have configured!
Cloud Resources
- Sharepoint.microsoft.com
- ..office.com
- teams.microsoft.com
- tenantname-my.sharepoint.com
- tenantname.sharepoint.com

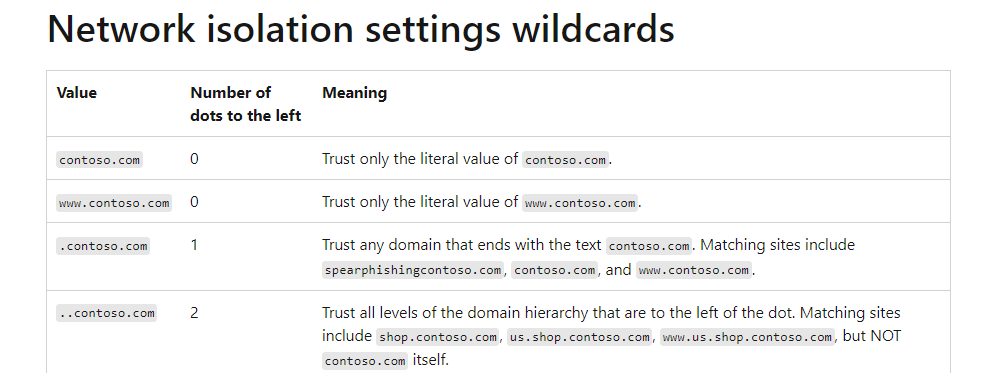
Please make sure when you want to use Wildcards, you don’t use “*” but an additional “.” as described in this Microsoft article about network isolation settings
After we configured the Cloud resources, let’s proceed to the Neutral resources.
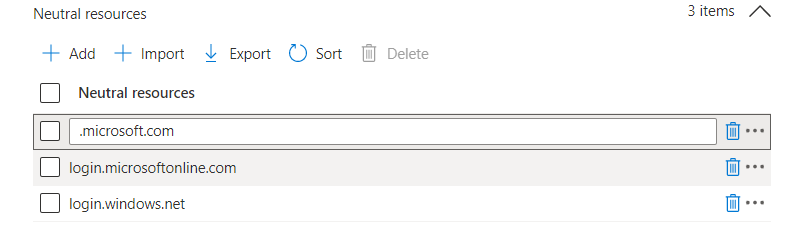
Neutral Resources
Let’s make sure we configure the Azure sign-in URLs in this section
- Login.microsoftonline.com
- login.windows.net
- .Microsoft.com
IP Ranges
If you have some additional IP ranges you need to add, this is the place to do it!

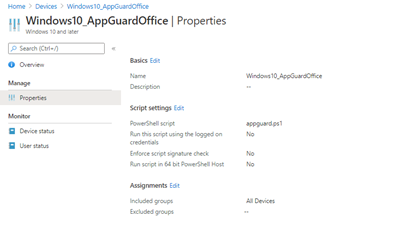
3. Deploy it with Powershell
To deploy Windows Defender Application Guard, you will need to configure some settings. Create a new Power Shell script and push it to your test endpoints.
Create a new PowerShell script and deploy it to some test devices (group).
PowerShell content:
$RegLoc = "HKLM:\SYSTEM\CurrentControlSet\Policies\Microsoft\FeatureManagement\Overrides"
New-Item -path HKLM:\SYSTEM\CurrentControlSet\Policies\Microsoft
New-Item -path HKLM:\SYSTEM\CurrentControlSet\Policies\Microsoft\FeatureManagement
New-Item -Path HKLM:\SYSTEM\CurrentControlSet\Policies\Microsoft\FeatureManagement\Overrides
New-ItemProperty -Path $RegLoc -Name 3457697930 -PropertyType Dword -Value 1
New-ItemProperty -Path $RegLoc -Name 94539402 -PropertyType Dword -Value 1
Get-ScheduledTask -TaskName "ReconcileFeatures" -TaskPath "\Microsoft\Windows\Flighting\FeatureConfig\" | Start-ScheduledTask
#Enable-WindowsOptionalFeature -Online -FeatureName Microsoft-Hyper-V-All -NoRestart
#Disable-WindowsOptionalFeature -Online -FeatureName Microsoft-Hyper-V-Tools-All -NoRestart
Enable-WindowsOptionalFeature -Online -FeatureName Windows-Defender-ApplicationGuard -NoRestart
reg add HKLM\SOFTWARE\Policies\Microsoft\AppHVSI /v AllowAppHVSI_ProviderSet /t reg_dword /d 2
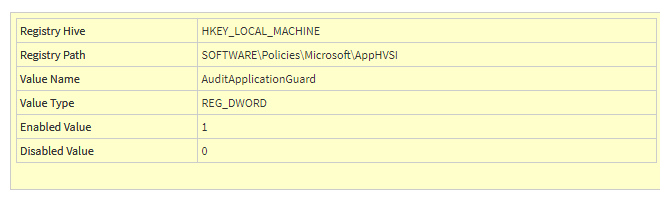
reg add HKLM\SOFTWARE\Policies\Microsoft\AppHVSI /v AuditApplicationGuard /t reg_dword /d 1
This PowerShell script will set the KB4559004 Issue 001 preview to enabled.

It will launch the Reconcilefeatures task and of course, it will install Microsoft Defender Application Guard (WDAG) and turn on the Microsoft defender application guard managed mode.
4. The Results:
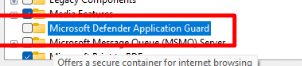
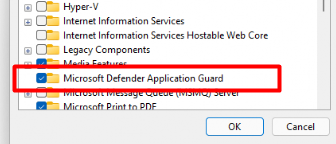
Before I am going to show you the end results, let’s take a look at how it looked before we enabled WDAG! Before enabling Microsoft Defender Application guard with Intune or PowerShell, you will notice it isn’t selected!
Let’s take a look at the results after the PowerShell script or Endpoint policy is deployed successfully.
You could also check if Application guard has been installed by running this command in PowerShell
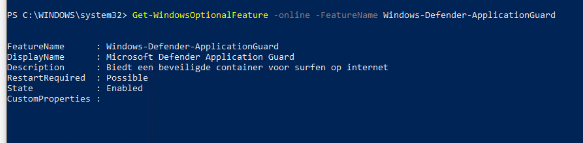
Please Note: We still need to reboot our device after Microsoft Defender Application Guard is installed

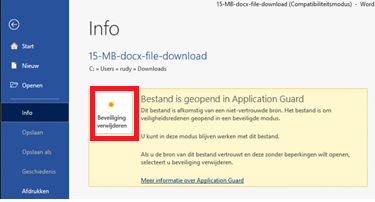
After our device is rebooted and everything is ready to go let’s take a test drive with it. Let’s download a test Docx from the internet and see what happens when you open the untrusted document. (have some patience the first time it opens…)
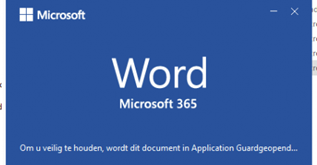
You will notice a WDAG notification: The document is opened in Application Guard.
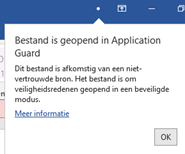
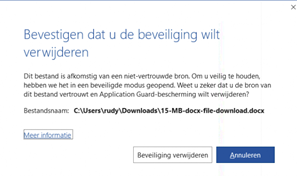
You can remove the protection when you are really sure it’s a trusted document.
5. Troubleshooting
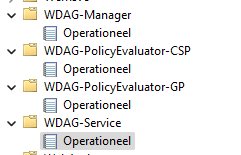
If you need to start troubleshooting why something is not working as it should, you will need to open the event log first. When using WDAG, you will need to look for the WDAG event logs (duhh)
And also don’t forget to change the auditing policy (I also mentioned it in the PowerShell script)
6. Conclusion
Of course, WDAG for Office Apps is not perfect yet but hey, it’s in public preview. It’s a really nice solution to defend your endpoints against malware within Office documents.
The only argument I have, WDAG really likes your Memory and CPU. That’s the beauty of argument, if you argue correctly, you’re never wrong
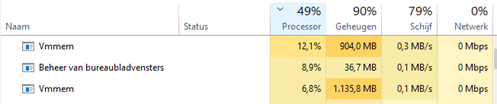
Application Guard uses a virtualized container to isolate untrusted documents away from the system. The process of creating a container and setting up the Application Guard container to open Office documents has a performance overhead that might negatively affect the user experience when users open an untrusted document.

The second part of the Endpoint Security Series about CFA (click here)
This really answered my problem, thank you!
Is there a way to uninstall this feature via InTune?
Hello, did you test whether the ip range worked?
Here I have a file server in the range and it dont work.